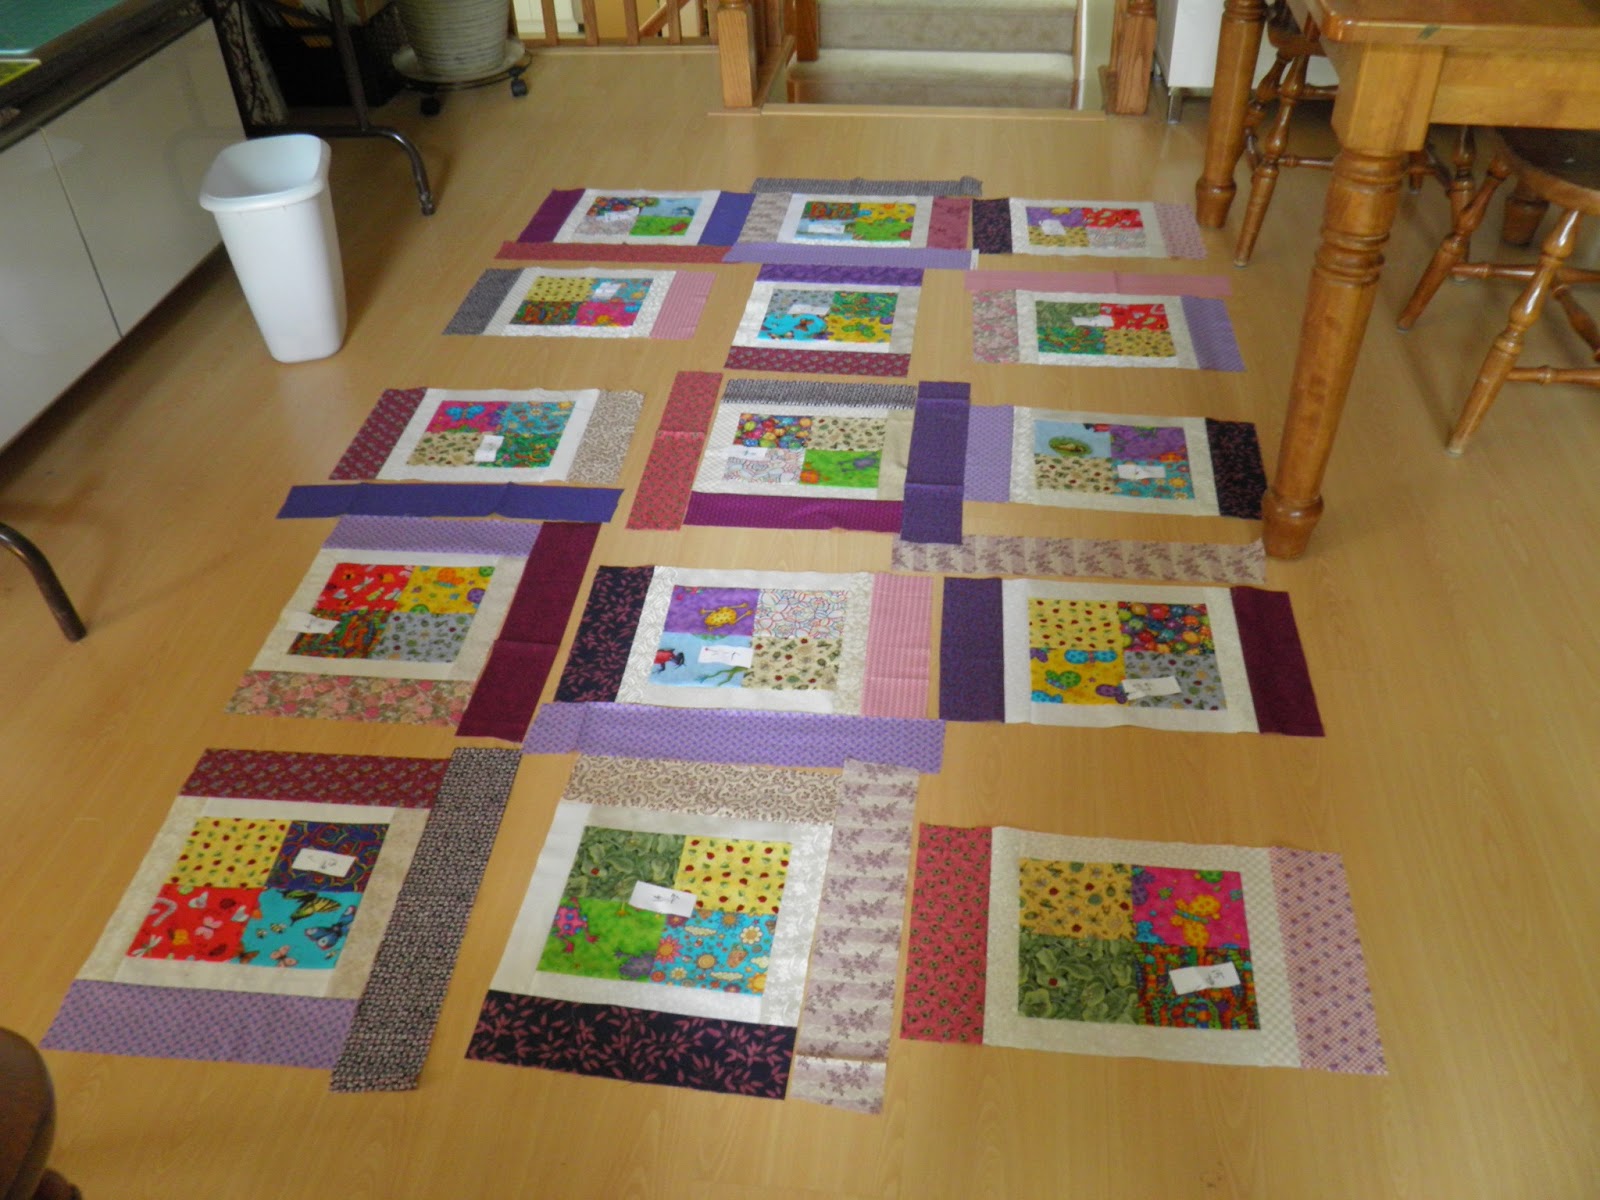
This is how I cut and arrange the pieces for a Windmill quilt in 15 minutes. I will have to make a video tutorial someday that shows how quick this is. For now, I hope the few pics I have here will be enough to get you going.
Here are the cut pieces arranged in no particular order on my
design board after they've been cut. It's always nice to see where the tutorial pics are leading.
(How did I Make a
Design Board in 30 minutes - Look for my pics)
STEP 1 - Square up a regular piece of paper. I used printer paper - easy enough to pull out of the printer tray :) though any size will work as the lines will be continued beyond the paper.
STEP 2 - Draw the cutting lines on the piece of paper. For this particular quilt I used a 2" - 6" split for the blades. For an 8" square piece make a mark 2 inches in from the left side of the paper on each of the four sides. Then joint the dots on opposite sides using a ruler and drawing a line.
Your paper should look like the pic below.
It can be rotated in any direction (should it blow off the table in a gust of wind - ha!) as it is dissected into four identical sections - that's a windmill for ya!
STEP 3 - Line up the paper square on the grid on your cutting.
IMPORTANT - Be sure to pick a good place on the mat that will be comfortable for you to cut lots of fabric now and in the future because this piece of paper is marking where fabric will be in a moment....
SOME OF YOU MAY NOT LIKE THE NEXT STEP... It involves a permanent marker
The way I look at it is if saves me time cutting fabric to whip up a quilt and I don't have to drag out any extra tools (and put them away afterwards - hate that part) then I am willing to doodle anything on my mat. Besides, it's my mat and I'll draw on it if I want to.
Same pic again below - didn't want you to have to scroll up... (geesh, am I lazy or what!)
STEP 4 - Being careful not to move the paper, place your ruler on top of the paper lining it up with the drawn line and using a permanent marker (not temporary marker as it will rub off on your fabric later) continue drawing the lines off the paper onto the mat.
Lift the paper and joint the lines so they intersect and look like the lines on the paper. (See two pics down for how the lines should look).
STEP 5 - Before you lift the paper draw little arrows on your mat that point to the center of each side of the paper. They will be used later for laying down your fabric. I drew several arrows which you can see two pics down.
Below you can see how the drawn lines on the mat mimic the lines on the paper. Here you can see I wrote
"CUT" on my lines as they will be the cutting lines. I later wrote
'Windmill Cutting Line' clarity as I now have other cutting guidelines for different patterns written on my mat since these pics were taken.


Here is a close up of what my mat looks like all marked up with the two cut lines and arrows. Well, I know that's not a wine ring.... I keep the wine on a separate table!
STEP..(Next?) Using sqaures of fabric (here I used 10" charms from a layer cake of fabric I bought on Etsy (I love Etsy) line up about 4-6 squares at a time or whatever you can comfortable cut at once between the arrows so that the fabric is square. The intersection of the lines will at the center of the squares.
 NEXT
- Being careful not to move the fabric line up your ruler on one of the drawn lines and cut. Then do the same with the second line....TWO CUTS...and you're done.
Imagine if you had your squares ready to go. You just have to plop them in the "square" you've outlined on your board with the arrows and then cut on the therewo cutting lines. DONE!
Here are some step by step pics of laying out the pinwheel and the breakdown of the pattern into a square for easy sewing....
I split apart the blades to reveal a square. This is how the pieces are sewn together.
I hope you enjoyed. I will be sure up upload pics of the finished quilt soon.
Cheers,
Joanne