Friday, 22 February 2013

75th Birthday Story Quilt

This is a quilt that I made for my step-father's 75th birthday.  I told a story of his life using quilt patterns.  For example the fish tails patterns for the fish tales he told and the Virginia Reel for their love of dance.

I worked day and night on this quilt and from start to finish had it done in just one month, on time for my first trip to Florida, 4800 km from Goose Bay, Labrador by car in the winter, to give it to him in person.  He's gone now, but his story lives on.

The finished quilt pics have yet to be uploaded.  I used my embroidery machine to embroider the meaning of each block in big black letters.

The most challenging block I did was the yellow and blue French star block and I did get it to lay flat!


CHILDREN'S FLANNEL RAG QUILTS

These are my first attempts at rag quilts.  Since I wanted to see how quickly one could be made I decided to use a single, but busy flannel fabric for each of my granddaughter's and grandson's quilts.  I chose flannel so they would be soft.

I was quite surprised how much fabric it took to make the quilts.  And oh boy, it took forever to snip them after they were sewn.  A day to sew and a day to snip.

 But they are nice and thick and wonderfully soft.  The kids love to cuddle with them.


QUILTING BY THE LIGHT OF THE MOON Mini Exchange Quilt

Here is a little quilt I made for ALQS7 this past fall, an online quilt swapping blog.  It found a new home with a quilter in Nova Scotia.  I couldn't be more thrilled as that is where I am from.

Since it was an international swap I wanted to make it quintessentially Canadian.  What's more Canadian than canoes and snow.  I designed quilting cabin in the mountains where by one can quilt by the light of silver moonbeams cast by a canoe shaped moon.  One can just imagine a quilter inside the cabin with the light on.

Rather than making a plain backing, I used up three heart strips that were in my scrap box stash of quilted things and fabric that hope some day to make it into a project.


CHICKEN SCRATCH Scrappy Baby Quilt


CHICKEN SCRATCH Scrappy Baby Quilt


This is a quilt that made for my grandson.  Several years ago I was into making these little chicken doorstops.  They were made of crazy quilting squares and filled with rice.  I'll have to find a picture of one of the chickens.

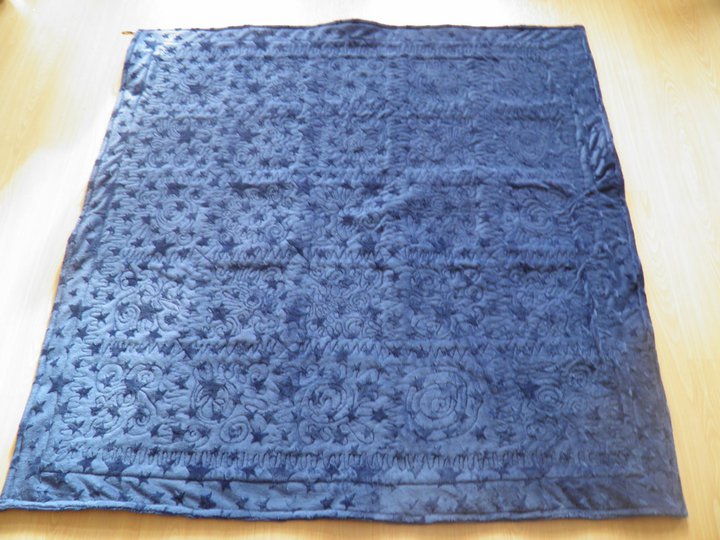
Well, going through my scrap box I found a ton of these crazy squares I'd made and decided to put them together in a quilt.  As a crib quilt I wanted it to be soft so for the first time I used a modern micro-fiber fabric for the backing.  It turned out really nice and is one of my favourite quilts.

I did my typical crazy doodling quilting.  The name for the quilt came to as I was doing the machine quilting.   The navy fabric is flannel and the crazy squares are cotton.


WIP - Scrappy Purple "I Spy" Quilt


SCRAPPY PURPLE "I SPY" QUILT

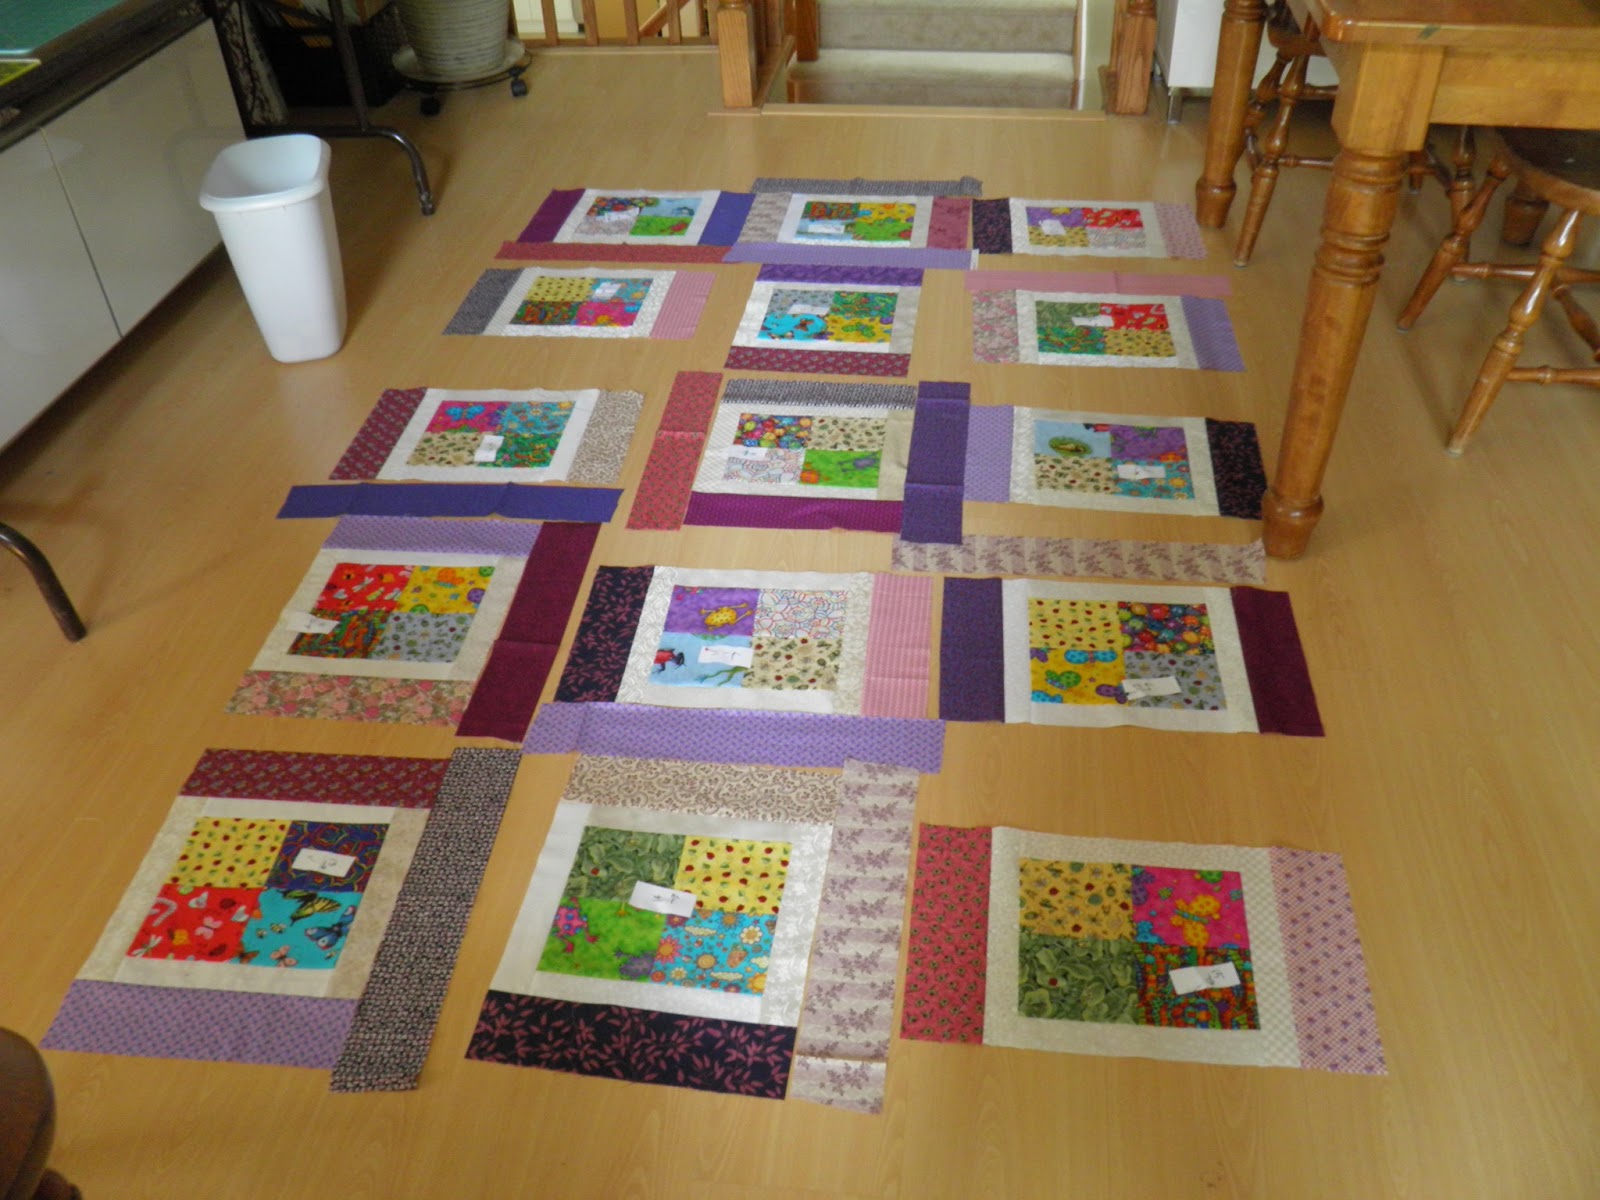
I pieced this quilt last summer expecting to give it to my granddaughter who loves purple.  I had a few children's fabrics that were OK for an I Spy quilt so I used them.  Though after making the quilt, I started swapping I SPY fabric online with other quilters and ended up with a ton of great fabrics.  I ended up making matching I Spy quilts for both our grandchildren using the new fabrics. This quilt was pushed to the side.  I need to quilt it.

Using up all my scraps here...

I started with 5 inch charms for the centers and simply adding sashing as I went along.  I didn't measure the sashing using what I had.  I squared up each block to the same size so they would go together.


WIP - Orange and Pink Reversible Quilt

I have always had several projects on the for a million different reasons and it's no different today.  I still have lots on the go.  What I find fascinating are the all the different reasons that I stop one project to start another and another.  Be it boredom, disappointment, weather, change of circumstance, etc. the journey to get finished is a story in itself.

This past summer I made myself a promise that I was not only going to work through my stash of fabric, but that I was also going to work through my stashed unfinished projects while at the same time documenting the journey of the quilt through the life of the quilter as they are intertwined.

So without further ado...

THE ORANGE AND PINK REVERSIBLE QUILT


I started working on this quilt the summer when my youngest daughter was in her last year of high school....three years ago.  It was supposed to be first her September birthday gift, then that year's Christmas gift, then her graduation gift and so on and so on.....   

I am determined to get this done for next Christmas.

The Front


The Back
Leaf Appliques


Quickly Cut Fabric for a Windmill Quilt

This is how I cut and arrange the pieces for a Windmill quilt in 15 minutes.  I will have to make a video tutorial someday that shows how quick this is.  For now, I hope the few pics I have here will be enough to get you going.

Here are the cut pieces arranged in no particular order on my design board after they've been cut.  It's always nice to see where the tutorial pics are leading.


(How did I Make a Design Board in 30 minutes - Look for my pics)


STEP 1 - Square up a regular piece of paper.  I used printer paper - easy enough to pull out of the printer tray :) though any size will work as the lines will be continued beyond the paper.

STEP 2 -   Draw the cutting lines on the piece of paper.  For this particular quilt I used a 2" - 6"  split for the blades.  For an 8" square piece make a mark 2 inches in from the left side of the paper on each of the four sides.  Then joint the dots on opposite sides using a ruler and drawing a line.

Your paper should look like the pic below.
It can be rotated in any direction (should it blow off the table in a gust of wind - ha!) as it is dissected into four identical sections - that's a windmill for ya!


STEP 3 -  Line up the paper square on the grid on your cutting.  IMPORTANT - Be sure to pick a good place on the mat that will be comfortable for you to cut lots of fabric now and in the future because this piece of paper is marking where fabric will be in a moment....

SOME OF YOU MAY NOT LIKE THE NEXT STEP...   It involves a permanent marker

The way I look at it is if saves me time cutting fabric to whip up a quilt and I don't have to drag out any extra tools (and put them away afterwards - hate that part) then I am willing to doodle anything on my mat.  Besides, it's my mat and I'll draw on it if I want to.

            Same pic again below - didn't want you to have to scroll up...  (geesh, am I lazy or what!)

STEP 4 - Being careful not to move the paper, place your ruler on top of the paper lining it up with the drawn line and using a permanent marker (not temporary marker as it will rub off on your fabric later) continue drawing the lines off the paper onto the mat.

Lift the paper and joint the lines so they intersect and look like the lines on the paper.  (See two pics down for how the lines should look).

STEP 5 - Before you lift the paper draw little arrows on your mat that point to the center of each side of the paper.  They will be used later for laying down your fabric.  I drew several arrows which you can see two pics down.

Below you can see how the drawn lines on the mat mimic the lines on the paper.  Here you can see I wrote "CUT" on my lines as they will be the cutting lines.  I later wrote 'Windmill Cutting Line' clarity as I now have other cutting guidelines for different patterns written on my mat since these pics were taken.


Here is a close up of what my mat looks like all marked up with the two cut lines and arrows.  Well, I know that's not a wine ring....  I keep the wine on a separate table!


 STEP..(Next?)   Using sqaures of fabric (here I used 10" charms from a layer cake of fabric I bought on Etsy (I love Etsy) line up about 4-6 squares at a time or whatever you can comfortable cut at once between the arrows so that the fabric is square.  The intersection of the lines will at the center of the squares.


NEXT  - Being careful not to move the fabric line up your ruler on one of the drawn lines and cut.  Then do the same with the second line....TWO CUTS...and you're done.
Imagine if you had your squares ready to go.  You just have to plop them in the "square" you've outlined on your board with the arrows and then cut on the therewo cutting lines.  DONE!
Here are some step by step pics of laying out the pinwheel and the breakdown of the pattern into a square for easy sewing....


I split apart the blades to reveal a square.  This is how the pieces are sewn together.

I hope you enjoyed.  I will be sure up upload pics of the finished quilt soon.

Cheers,
Joanne